Step-by-Step • How To Prepare Our Clay Masks ✽

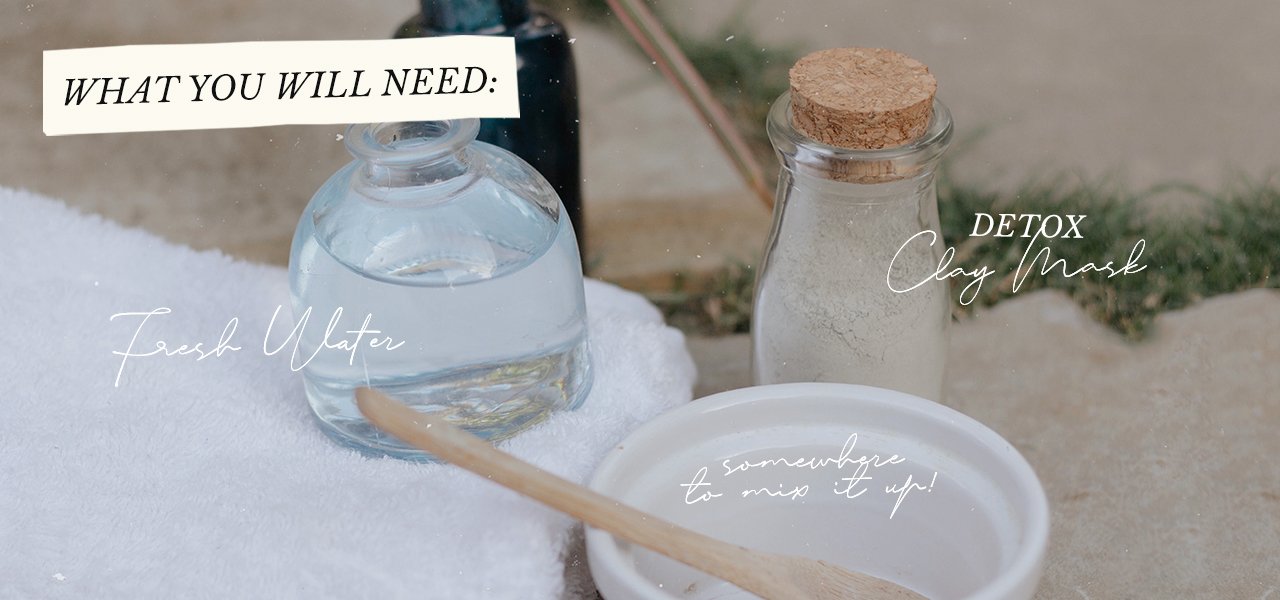
What you will need:
  • + Fresh water
 
NTWhatyouwillneed

To get any of NT’s Clay Masks ready to go, here’s what you’ll need: Some fresh water (the amount depends on how thick you want the mask to be, and how much clay you use), our finely-ground green clay (of course!) and somewhere to mix it up (this could be a small bowl, a cup, anything really!) + optional, a spoon or spatula to apply the mask once it’s ready!

Step 01:

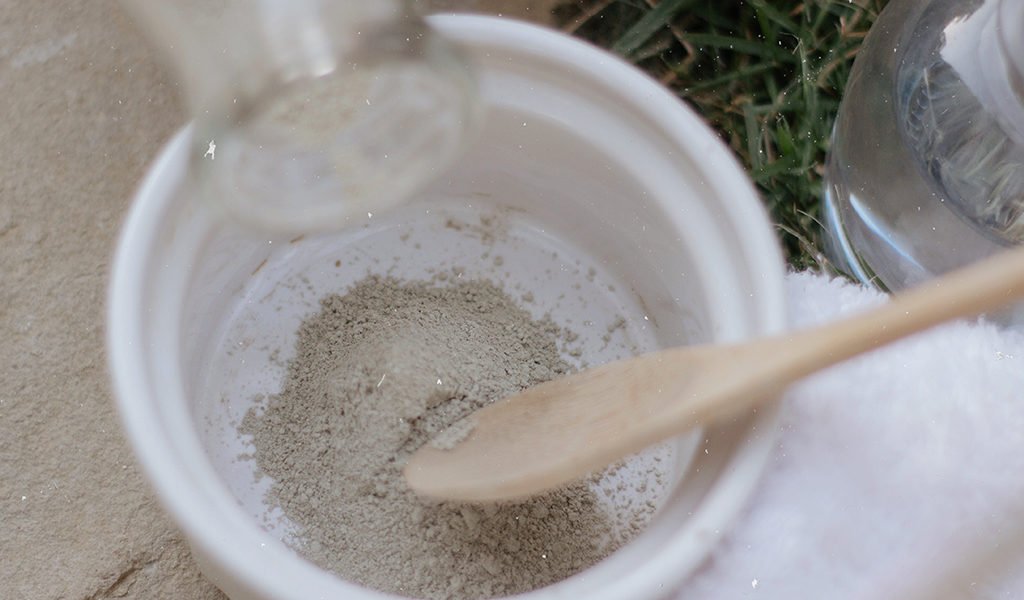
Pour some of the clay in to your mixing bowl.
You can choose this amount based on how much of the mask you’re planning to use.

Step 02:

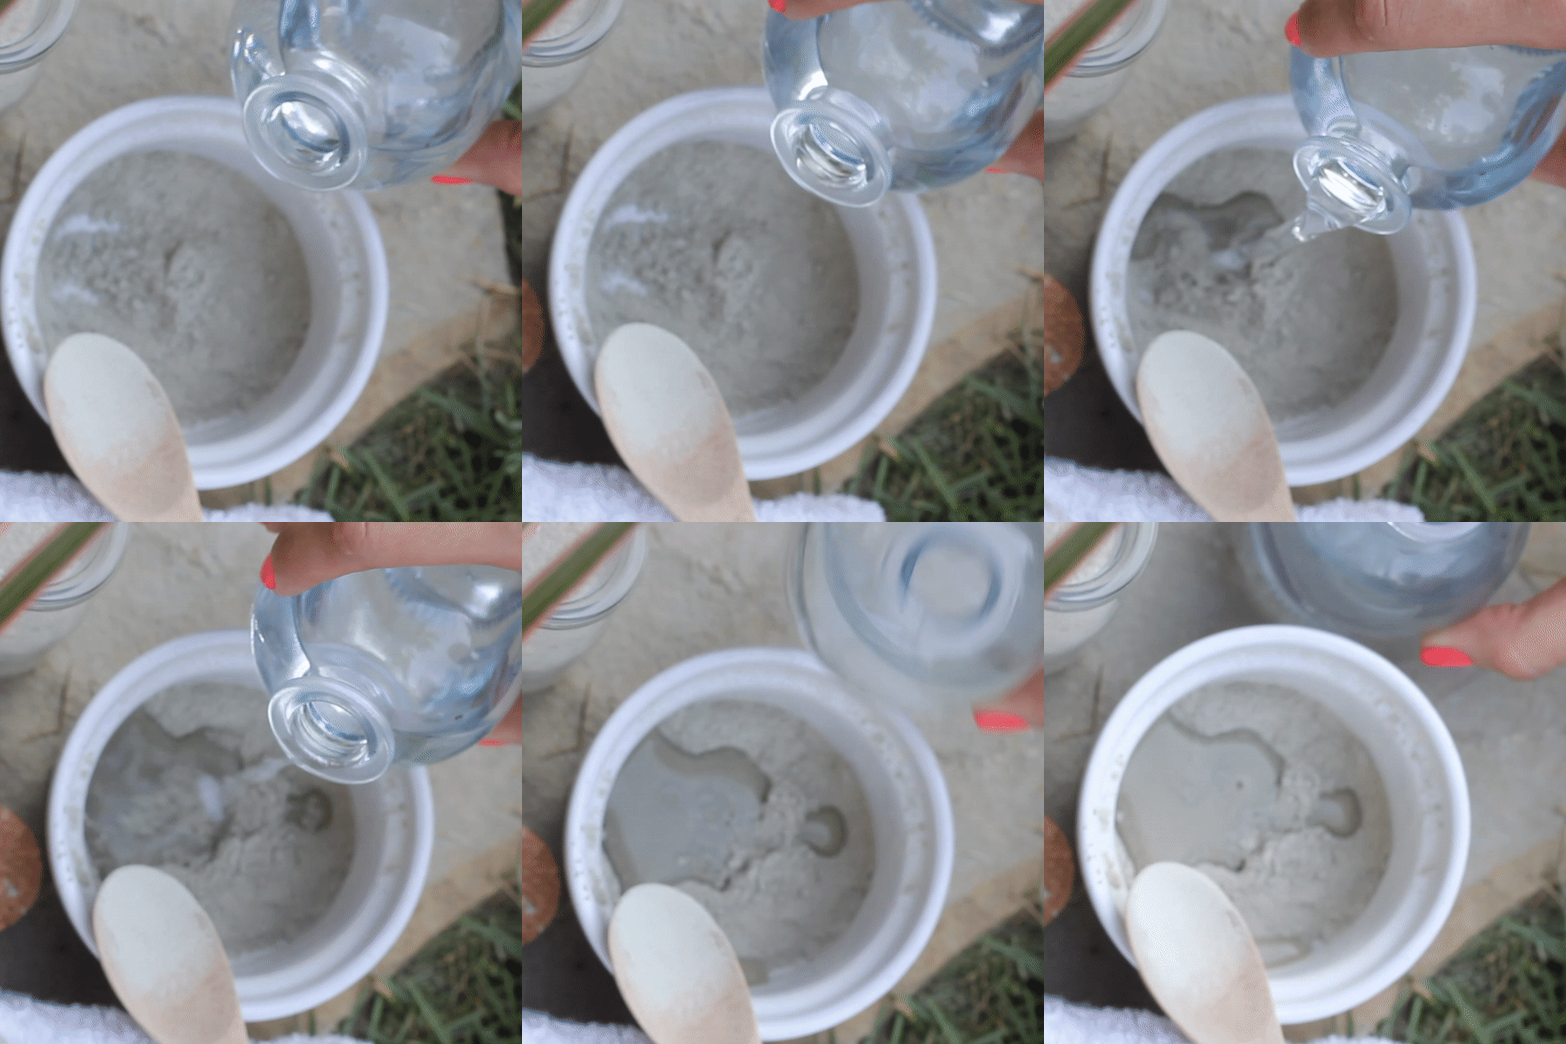
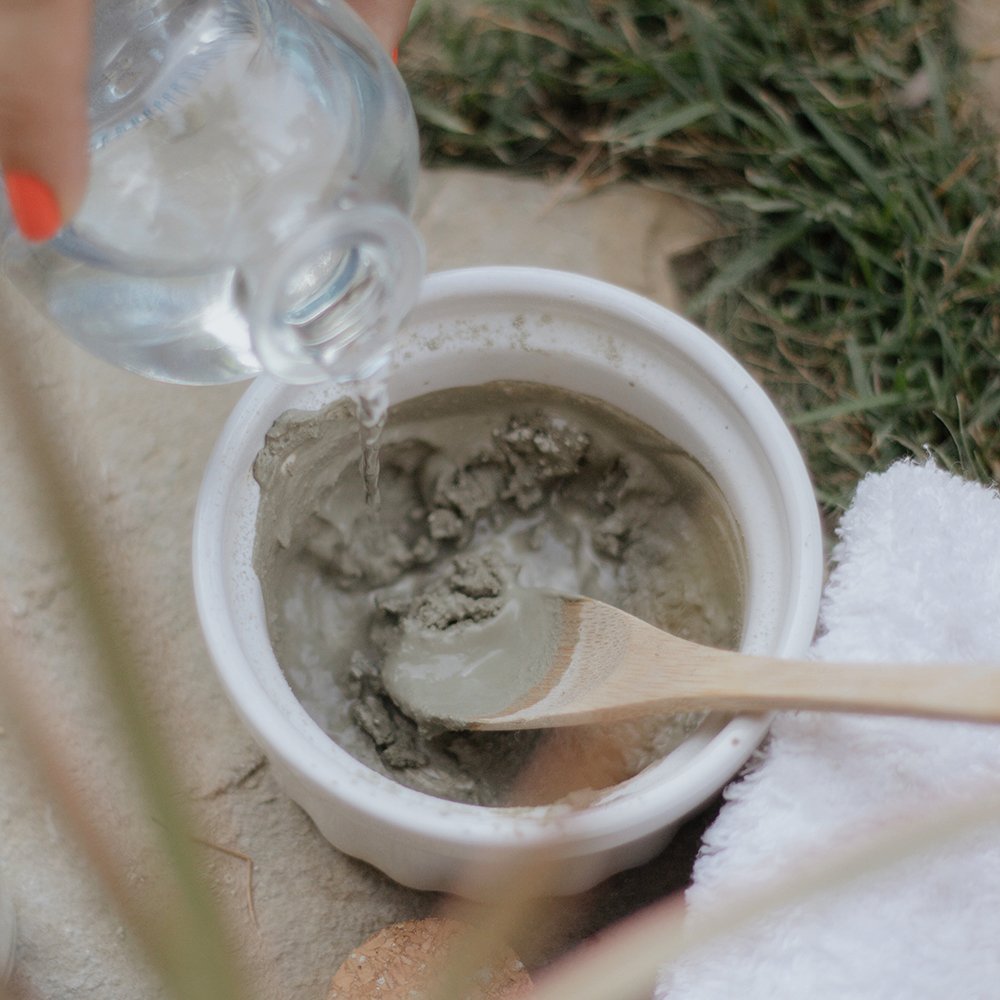
Add water to the clay that is now in your mixing bowl.
You can choose this amount based on how thick you want your mask to be. It’s totally up to you!
But definitely start with a smaller amount of water and add more if necessary. 
*Remember: The thicker the mask, the longer it will take to dry.
 
If you accidentally over-pour, no worries, just add a little more of the green clay to the mix! 
*Personal tip: If this happens, and you make more than you need for your pampering – leave it in the cup for next time you want to use it. It will harden, but all you have to do is add water!
 
Step 03: 
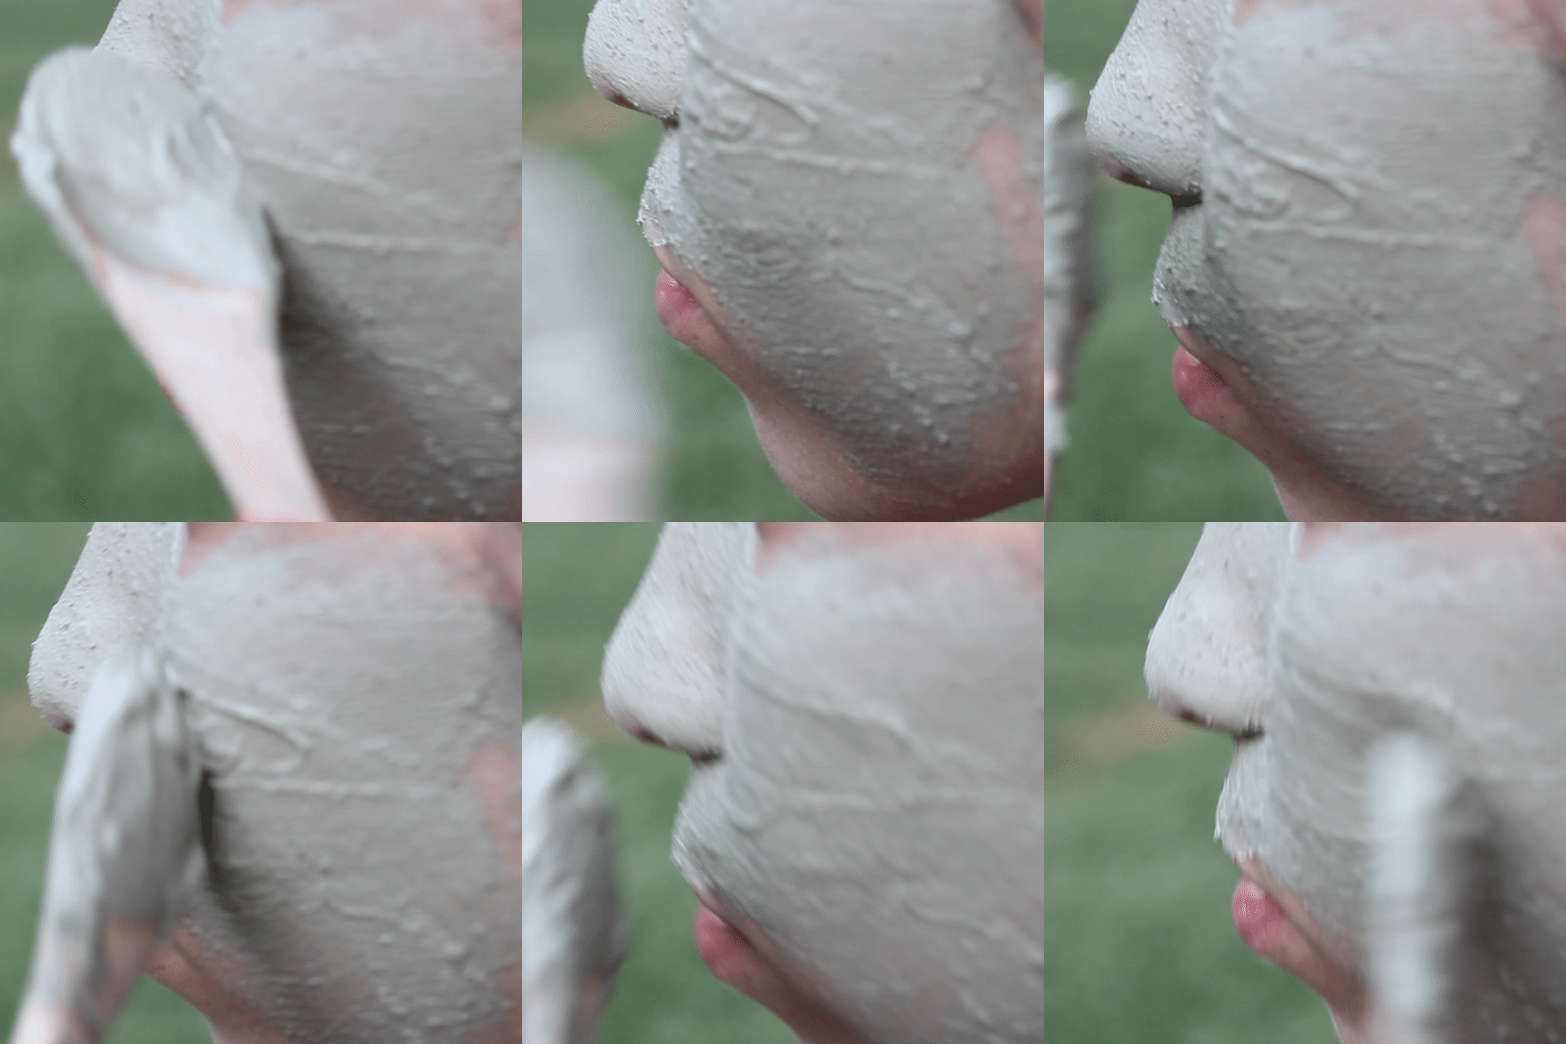
Apply the finished clay mask evenly to that angel face of yours!
Leave mask until slighty hard. Do not let mask completely dry to prevent stripping skin of natural oils. 

Step 04: 
Rinse it off!
Make sure you rinse your skin well, to get that super-fresh feeling.
 
Step 05: 
Pat dry! 
Once you’ve rinsed the mask off of your skin thoroughly, make sure to pat dry using a clean towel. 
*Never rub your skin, always pat dry. Rubbing can cause the loss of elasticity and irritation. 
Web